Regency costume photo shoot

After the costume was finished, I treated myself to a professional photo shoot! Here are a few of my favorites.

All photos are by Sarah Lee Welch Photography, LLC. Locations include McCreery House and Foote Lagoon, both in downtown Loveland, Colorado.

The evening look, with long white gloves (these, along with the shoes & stockings, are the only part of the ensemble that I didn’t make) and an ostrich-plume headpiece.
The quizzing glass belonged to my grandmother. After she died, each of her granddaughters was allowed to choose something from her costume jewelry. Needless to say, I grabbed it! (Fortunately, I was probably the only one who realized what it was.) I bought a length of 1/4″ black velvet ribbon and threaded through it.
No Regency lady would go outside bareheaded! Besides my bonnet, I’m wearing the same dress as in the photos above, this time topped with a double-breasted pelisse cut short in the front in a style reminiscent of Regency gentlemen’s tailcoats. (Of course, Regency ladies would have different gowns for day versus evening, with long sleeves and high necklines for day wear while saving the decolletage and bare arms for evening, but I wanted a variety of looks with the fewest number of pieces.) I’ve also traded my long white formal gloves for short fingerless gloves made of lace. If you’ve ever read mentions of Regency ladies wearing “mittens,” this is what is meant by the term.
This closer shot shows the bodice detail of the pelisse as well as the gloves. The buttons on the gloves are mother-of-pearl, while the buttons on the pelisse are covered with fabric. Since the pelisse fabric was too thick for the purpose, I used a lighter weight broadcloth in a matching shade of gray. There are 18 covered buttons in all: 10 on the bodice and 4 on each sleeve!
This photo shows not only the bonnet in detail, but also the pleats in the skirt of the pelisse.
More bonnet detail.
The photo shoot was done in April, which turned out to be the perfect time: the weather was still cool enough that I wasn’t sweltering in a bonnet and pelisse! Best of all, the crab apple trees were in full bloom!
Speaking of crab apples trees, the photographer actually climbed up in one for this photo looking down through the branches!

Part 2: The Making of a Regency Costume – The Bonnet

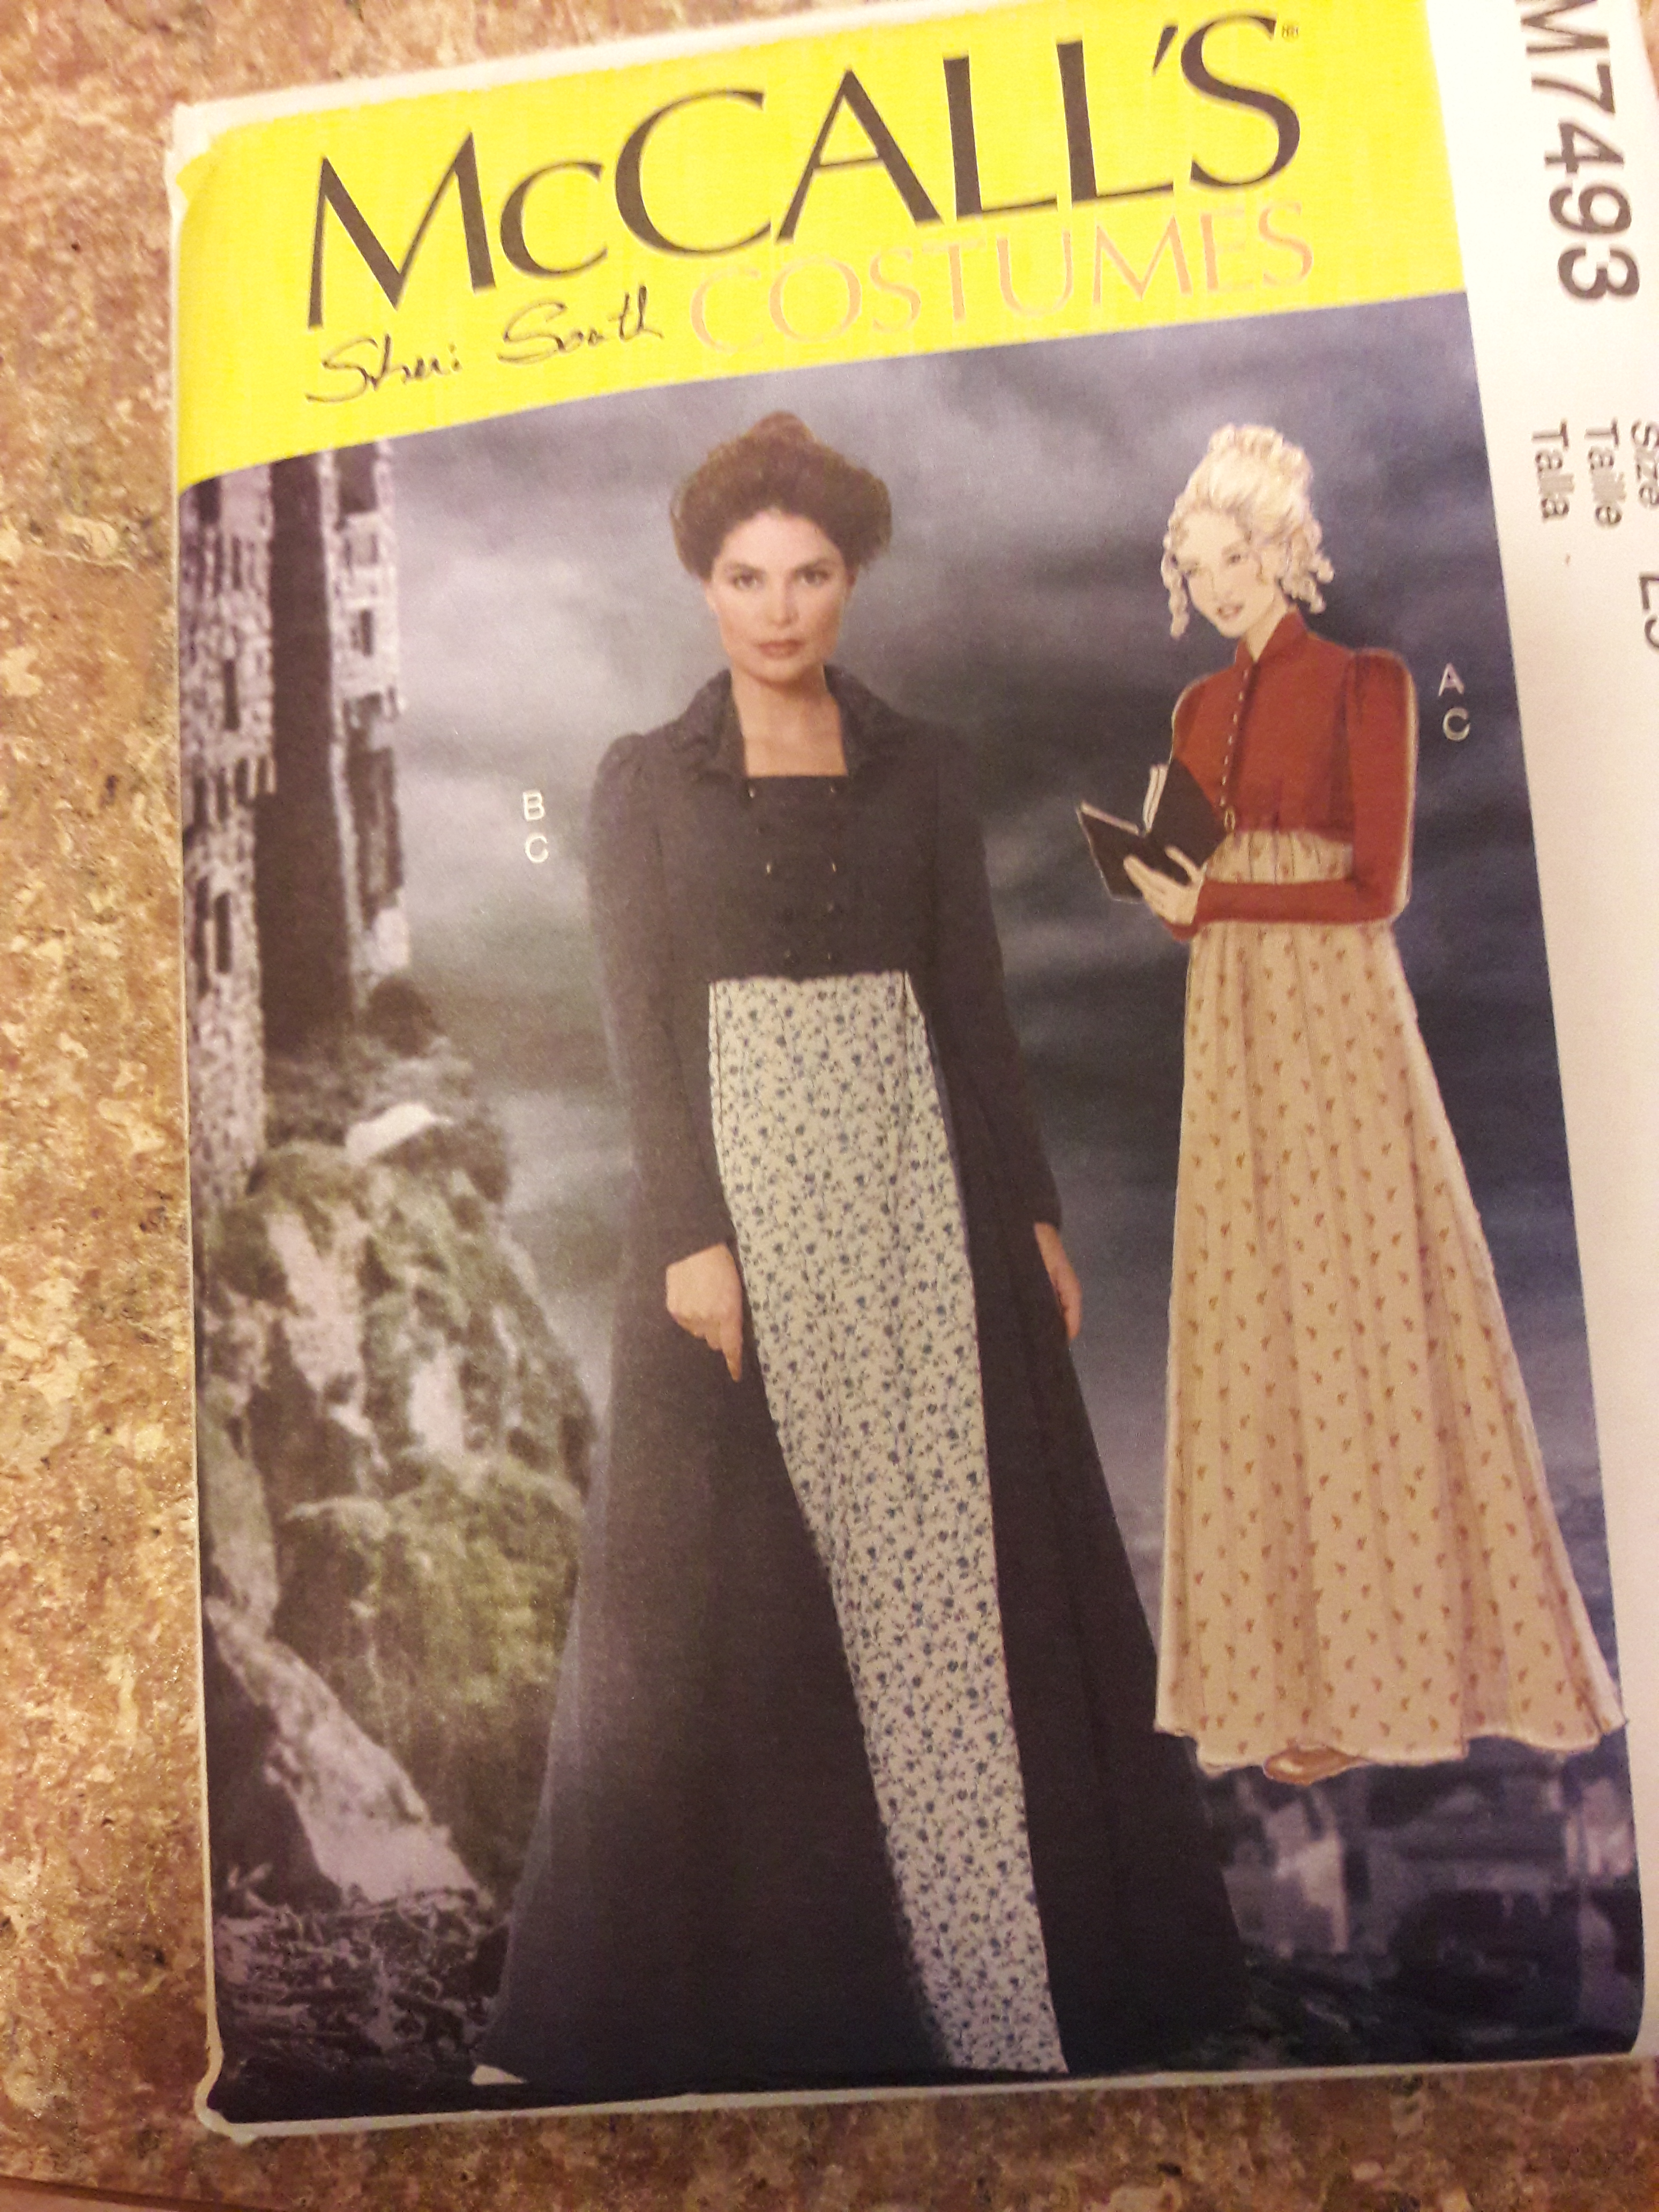
Now that I had a high-waisted gown and pelisse (see my previous post, The Making of a Regency Costume, Part 1), it was time to focus on the accessories that would turn it into an authentic-looking Regency costume. The biggie, of course, was the bonnet. There are numerous websites and YouTube videos showing the various stages of bonnet construction; although I watched many of these (including this one from Stephanie Johanesen of the Oregon Regency Society) I found the websites that showed still photos more helpful, as I didn’t have to keep reaching for the “pause” button on my phone. I liked this site, with one caveat, which I’ll explain below.

I saw one potential problem right away. While my dress/pelisse pattern had been very specific, all the bonnet tutorials were extremely vague as to measurements: “ . . . or you can make it bigger or smaller . . .,” etc. Fortunately, I was making my bonnet only a few weeks before Easter, which meant that the “Everything’s $1” store had cheap straw bonnets for $1. This was a very good thing for me, since the only 18-inch bonnet I had found was at Michael’s, and had cost about $10—much more than the $3 price quoted in the blog above. The 40%-off coupon brought it down some, but all the same, I bought a second hat from the dollar store. It didn’t look historically accurate by a long chalk—the “straw” was actually some kind of plastic—but it would serve as a practice piece.

And a good thing, too. When making the practice hat, I cut away about a third of the hat as per the instructions on the Better Dresses Vintage blog, and finished the cut raw edge with wide bias tape. At this point, I tried on the hat, and suffered my first setback: the brim stuck out weirdly over my ears at the “corners” where the brim was cut away. I continued to work on my practice bonnet, but I was pretty sure that, unless something changed drastically by the time I was finished, it would be a wash.

So I plowed gamely on, first lining the inside of the brim with a fine voile and, finally, cutting a rectangle of fabric for the crown. As my instructions said it should be 9 inches when folded, I cut it to 18 inches, folded the piece, and continued. To my chagrin, the crown was so small that I couldn’t even get it to cover my head! It was at this point that I tossed my practice bonnet aside. It was obviously beyond hope, but I’d learned a lot about construction—the biggest lesson being that, whether it’s the straw brim or the fabric crown, while you can always cut off more, you can’t put it back on.

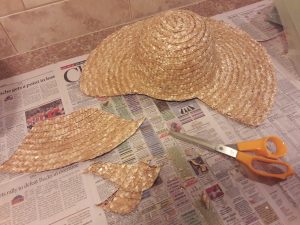
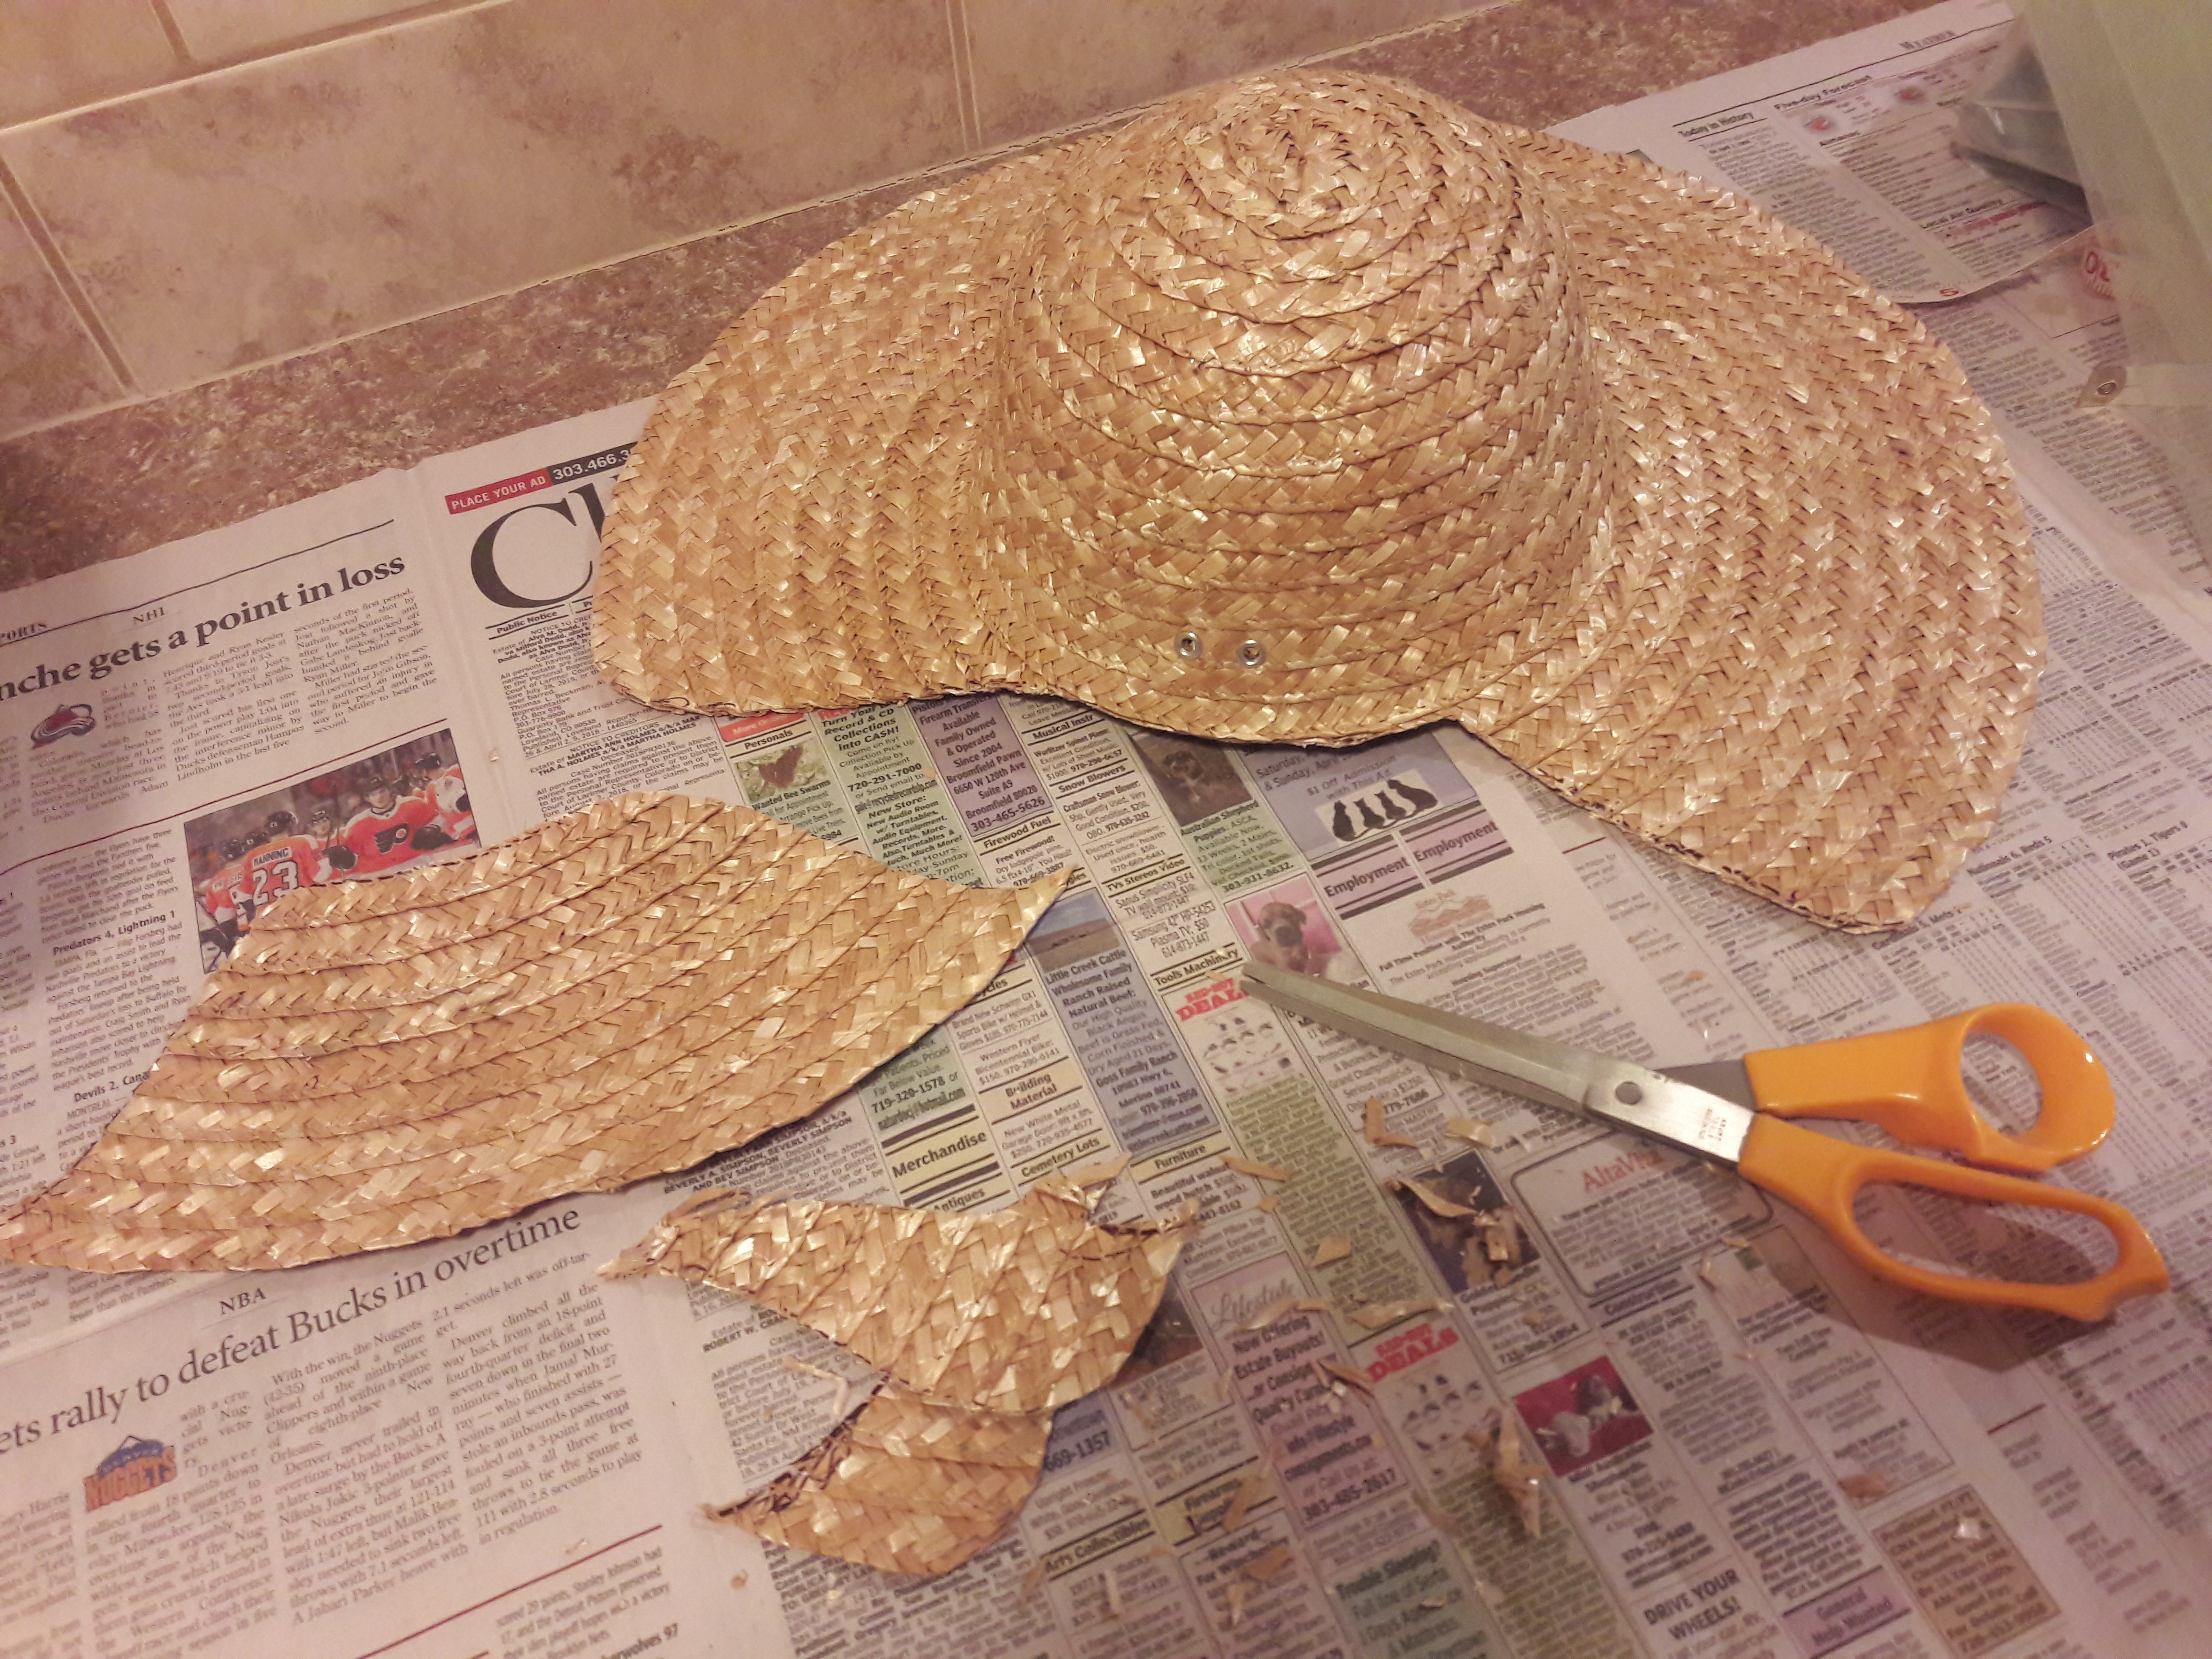
The straw hat, showing the chunk(s) I cut out of the brim.

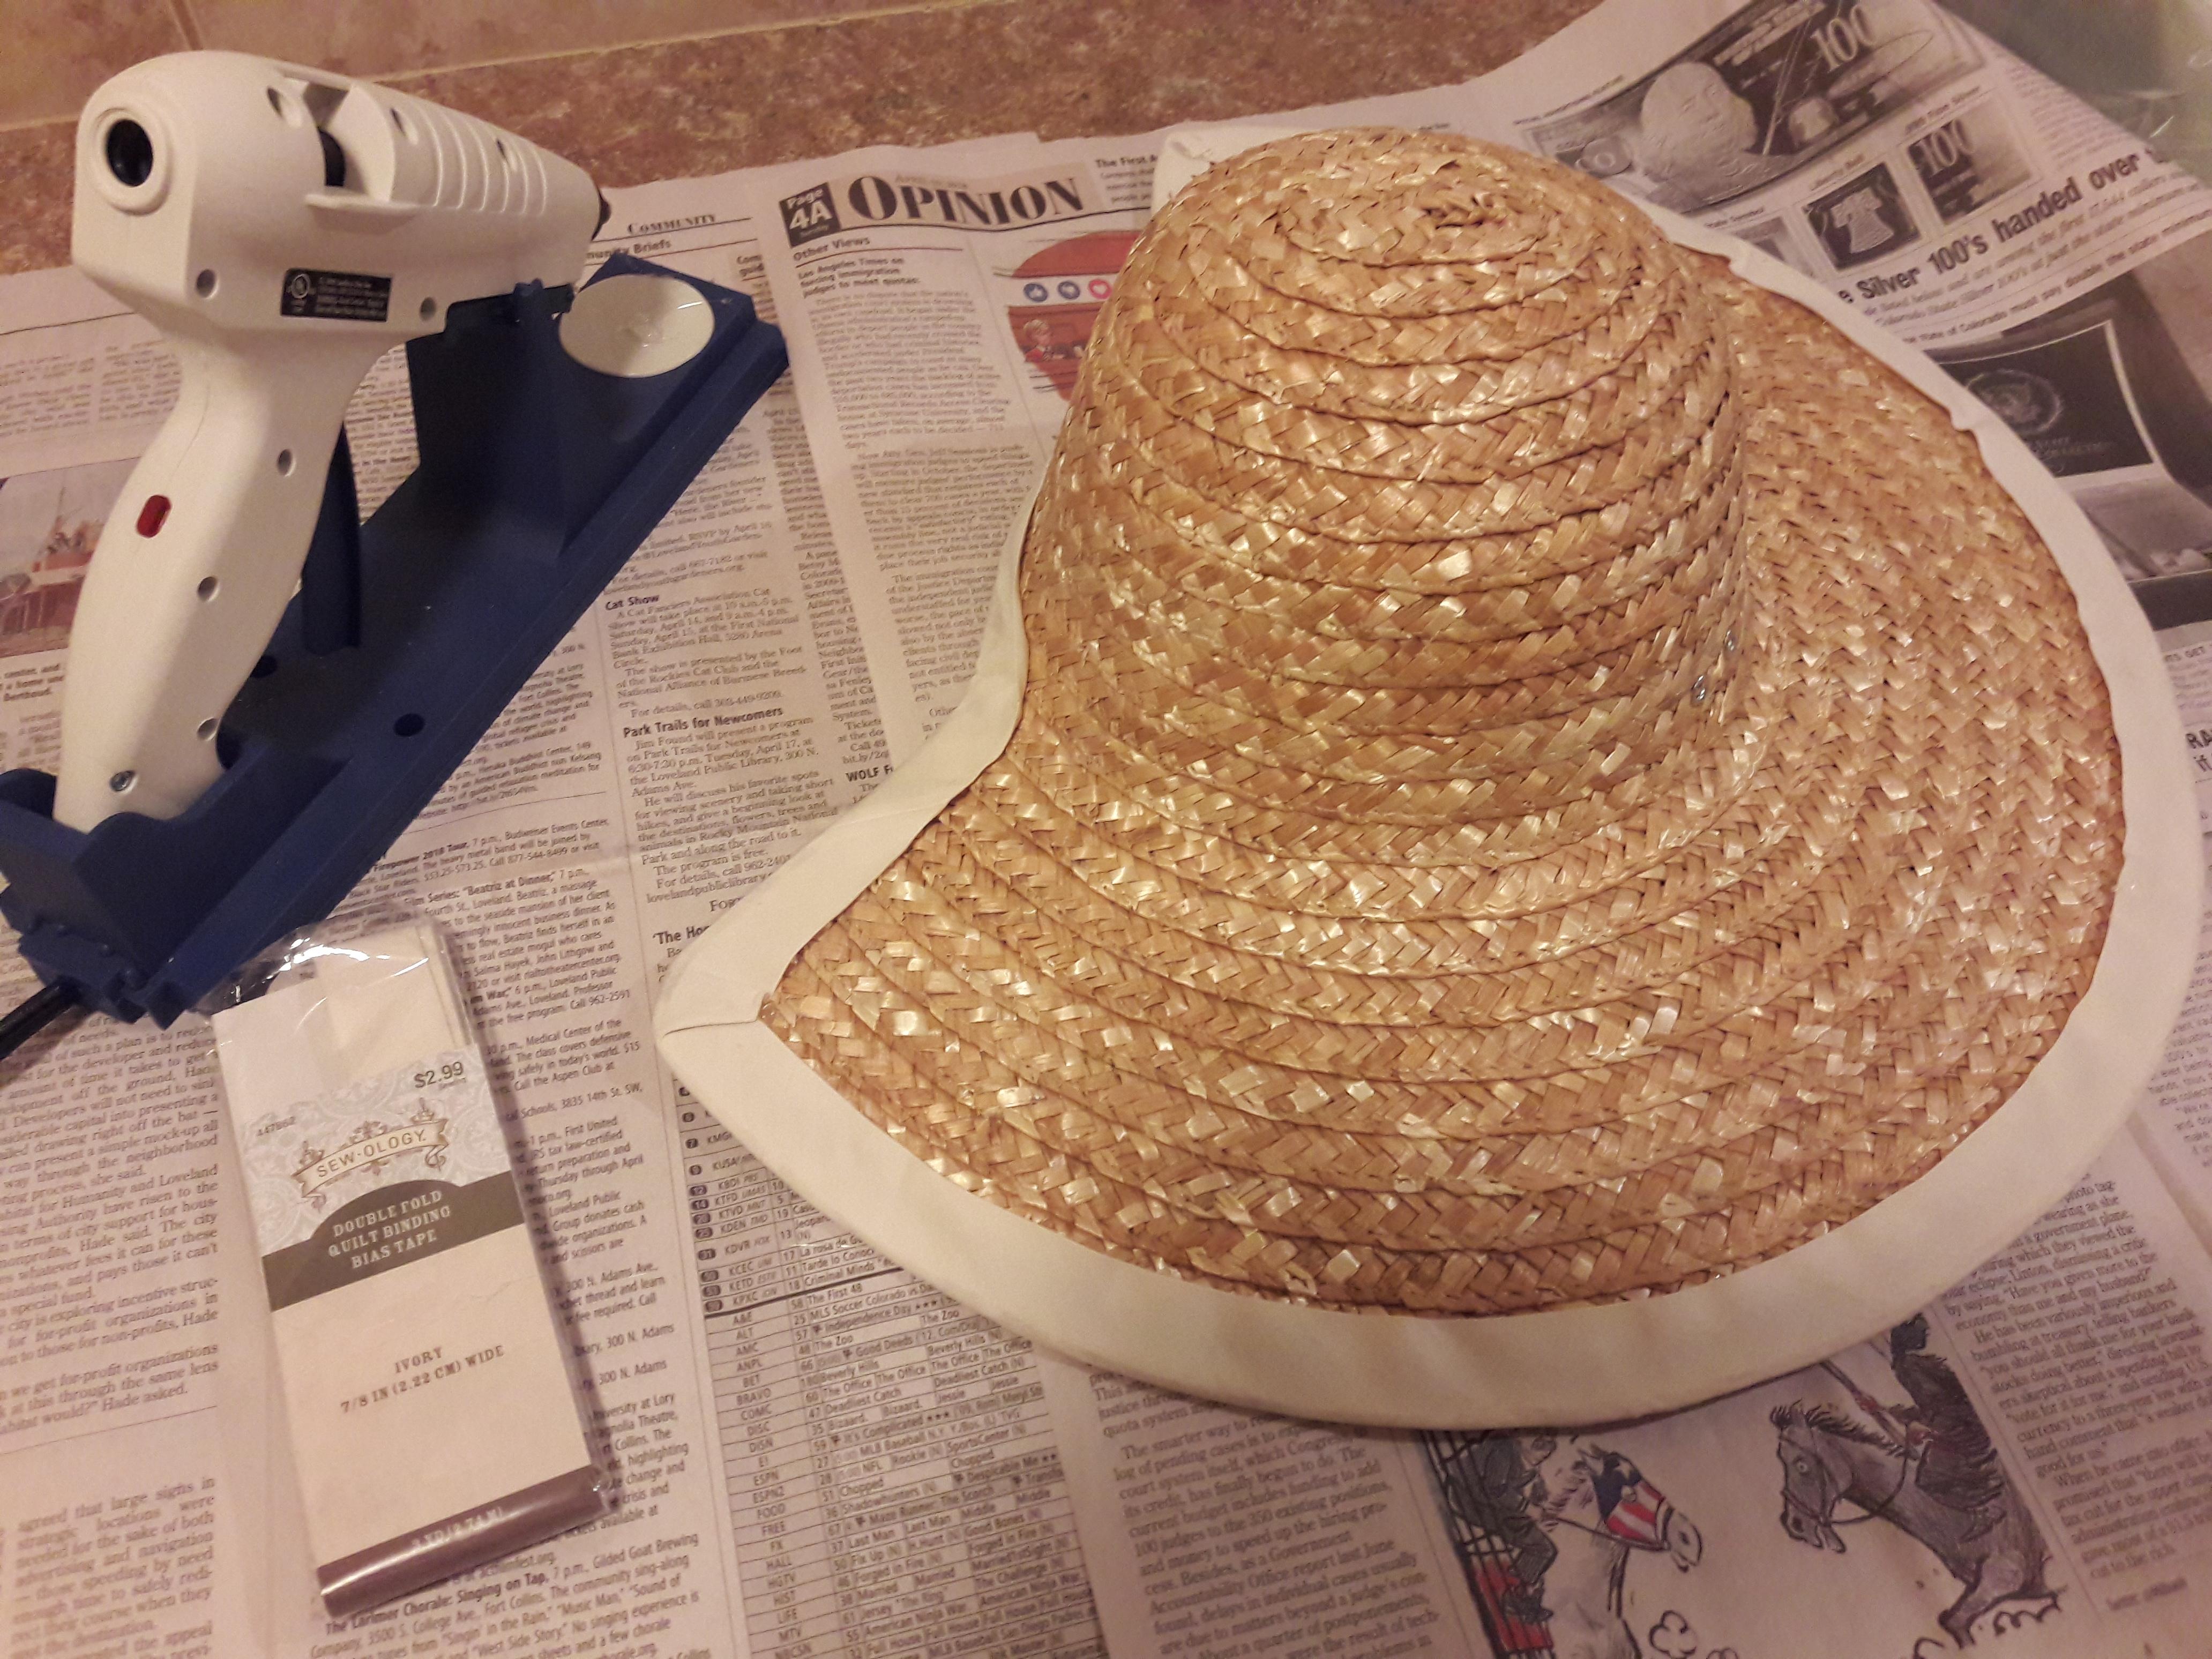
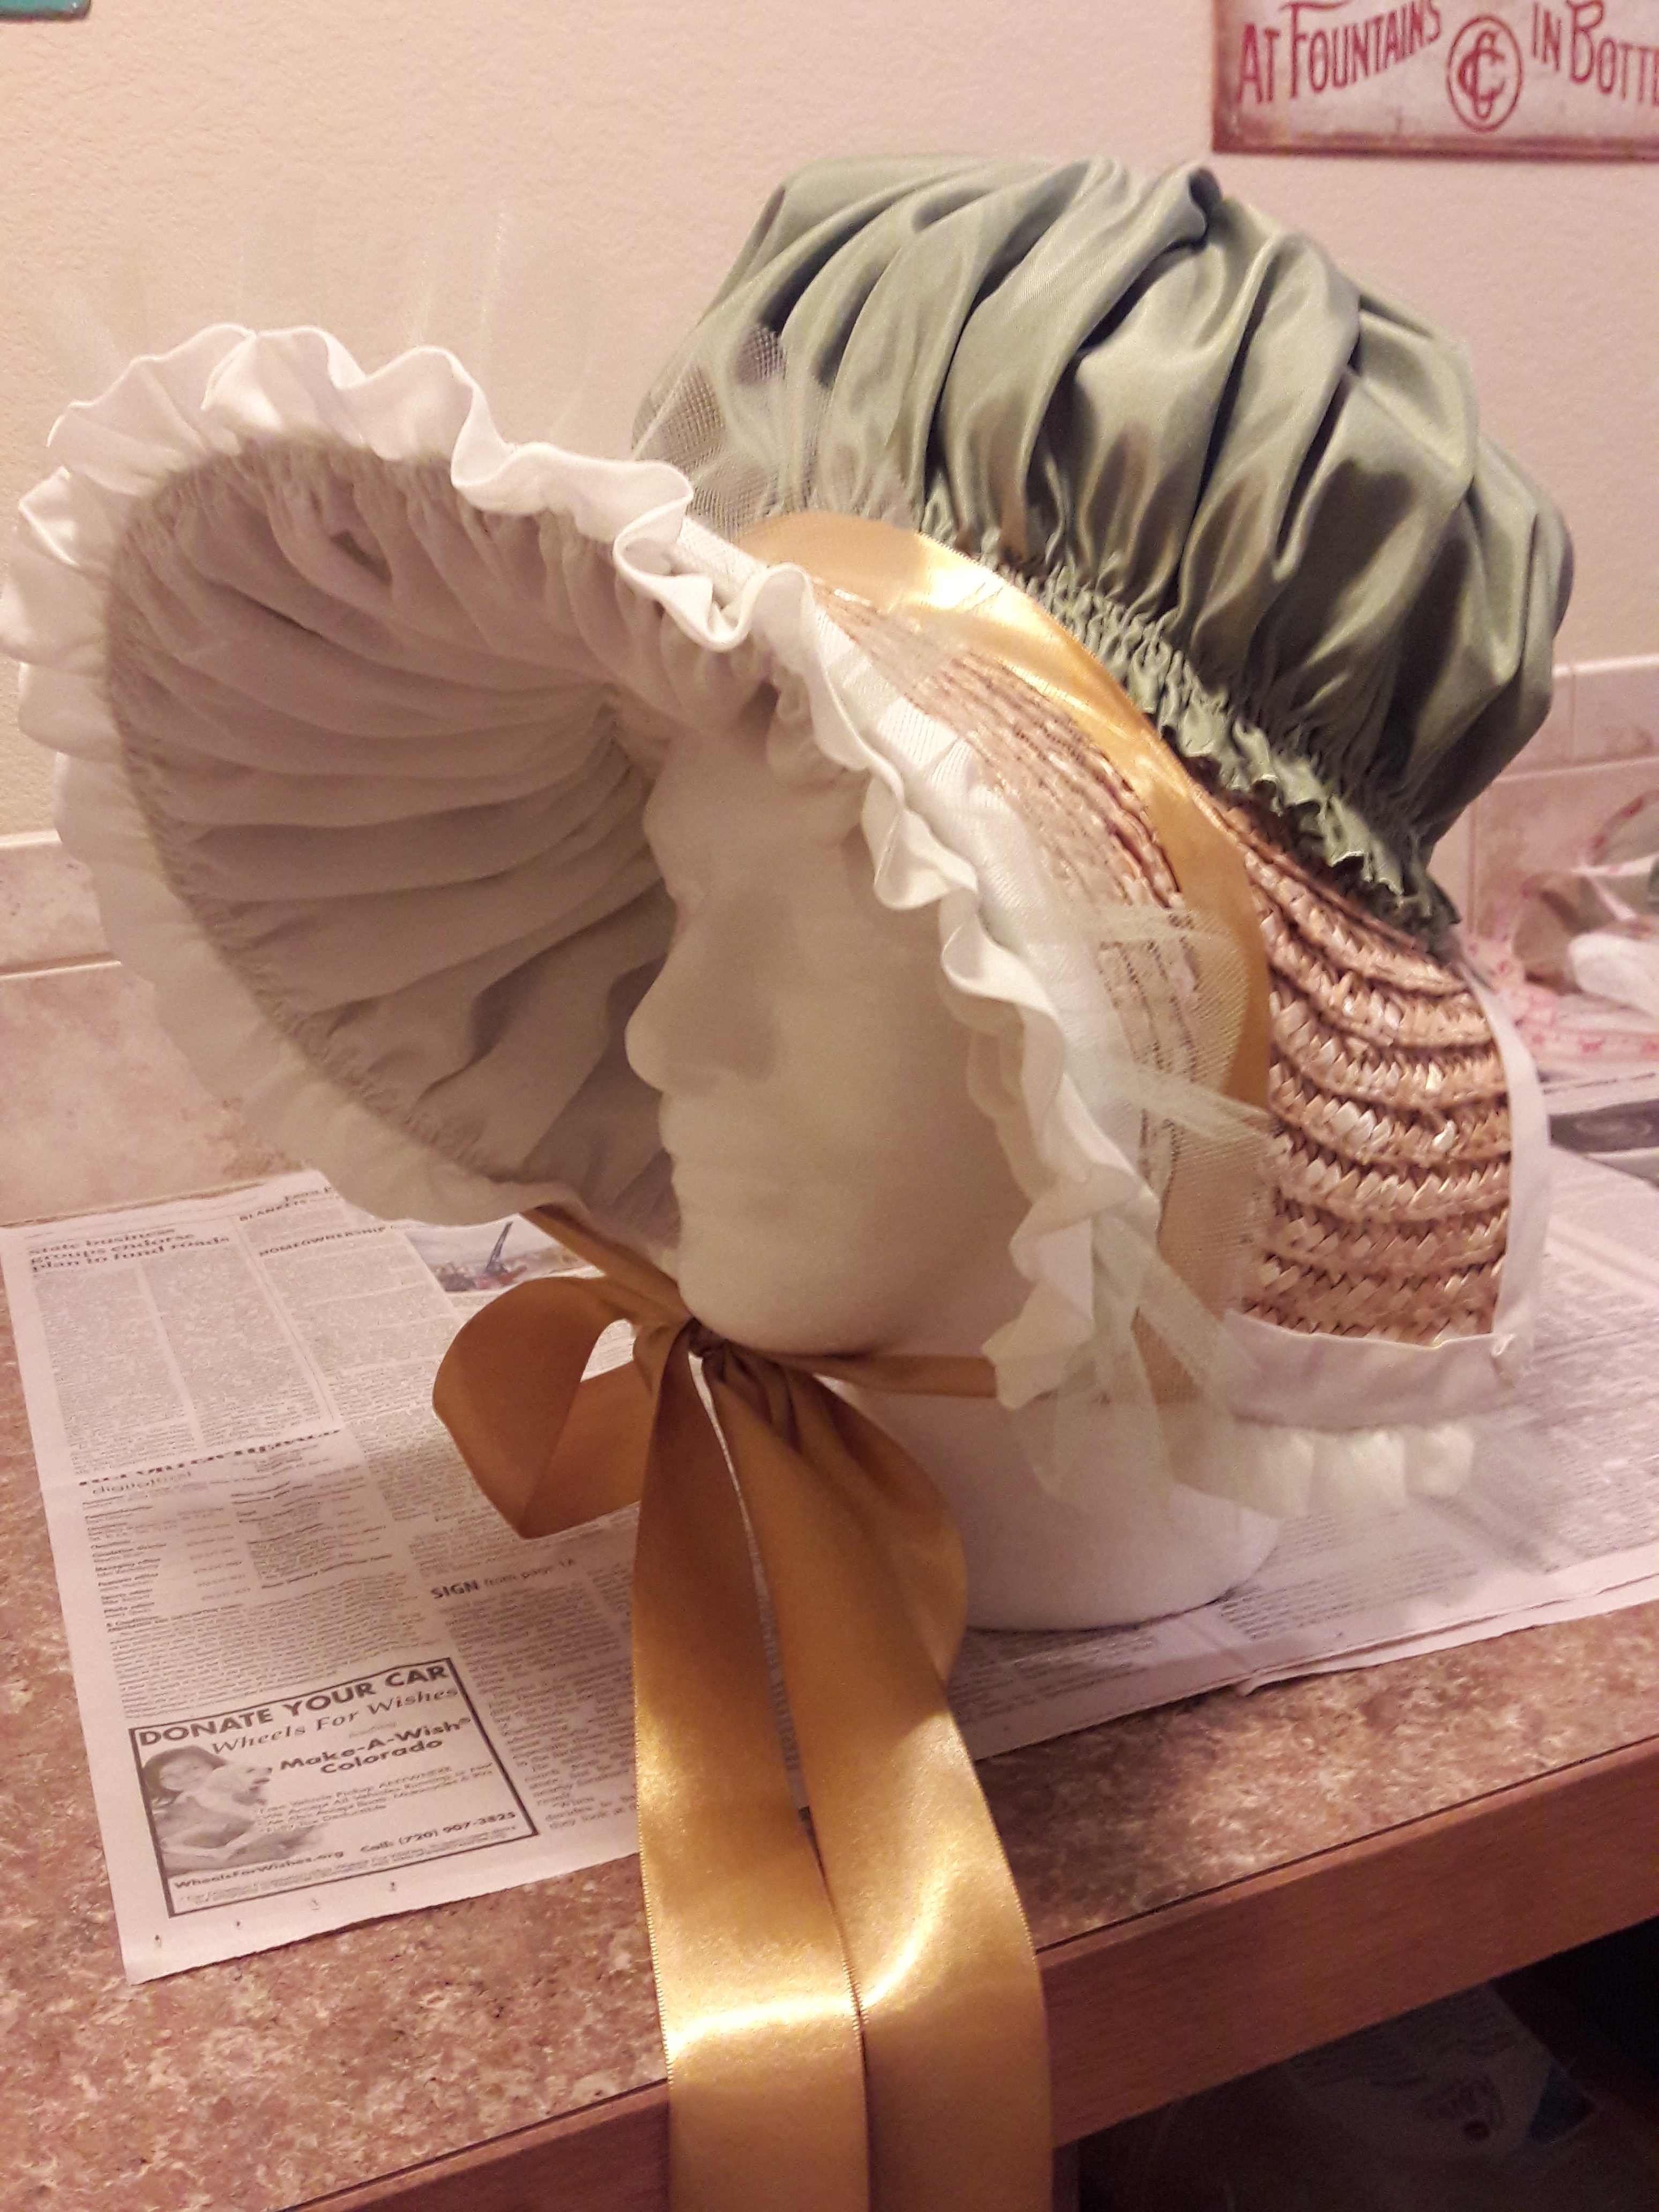
That’s why, when I cut into my “real” hat (after covering my work surface with newspaper; after all, my “real” hat was made of “real” straw!), I only cut out a small section of the brim, leaving the crown intact. (And after trying it on, I cut out a bit more, as you can see in the photo.) I pinned a length of extra-wide double-fold bias tape in place and secured it with a hot-glue gun, although if I had it to do again, I might have sewn it; in some of the later steps, I did use a sturdy needle and thread, and it would have been a lot easier if I hadn’t had to work around those patches of glue.

Finishing the raw edge & around the brim with bias tape. Some of the websites I consulted suggested using ribbon, but I thought extra-wide double-fold bias tape would conform to the curved shape of the brim without so much puckering.

The brim is lined by gathering a lightweight voile at the brim edge, and again where the brim meets the crown, and sewing in place with a sturdy needle; thread should match the hat, not the voile, in order to be invisible from the outside. (It might be covered up by trim anyway, but why take chances?) I didn’t trim the excess (it would have been a ravelly mess if I had), but simply stuffed it inside the crown.

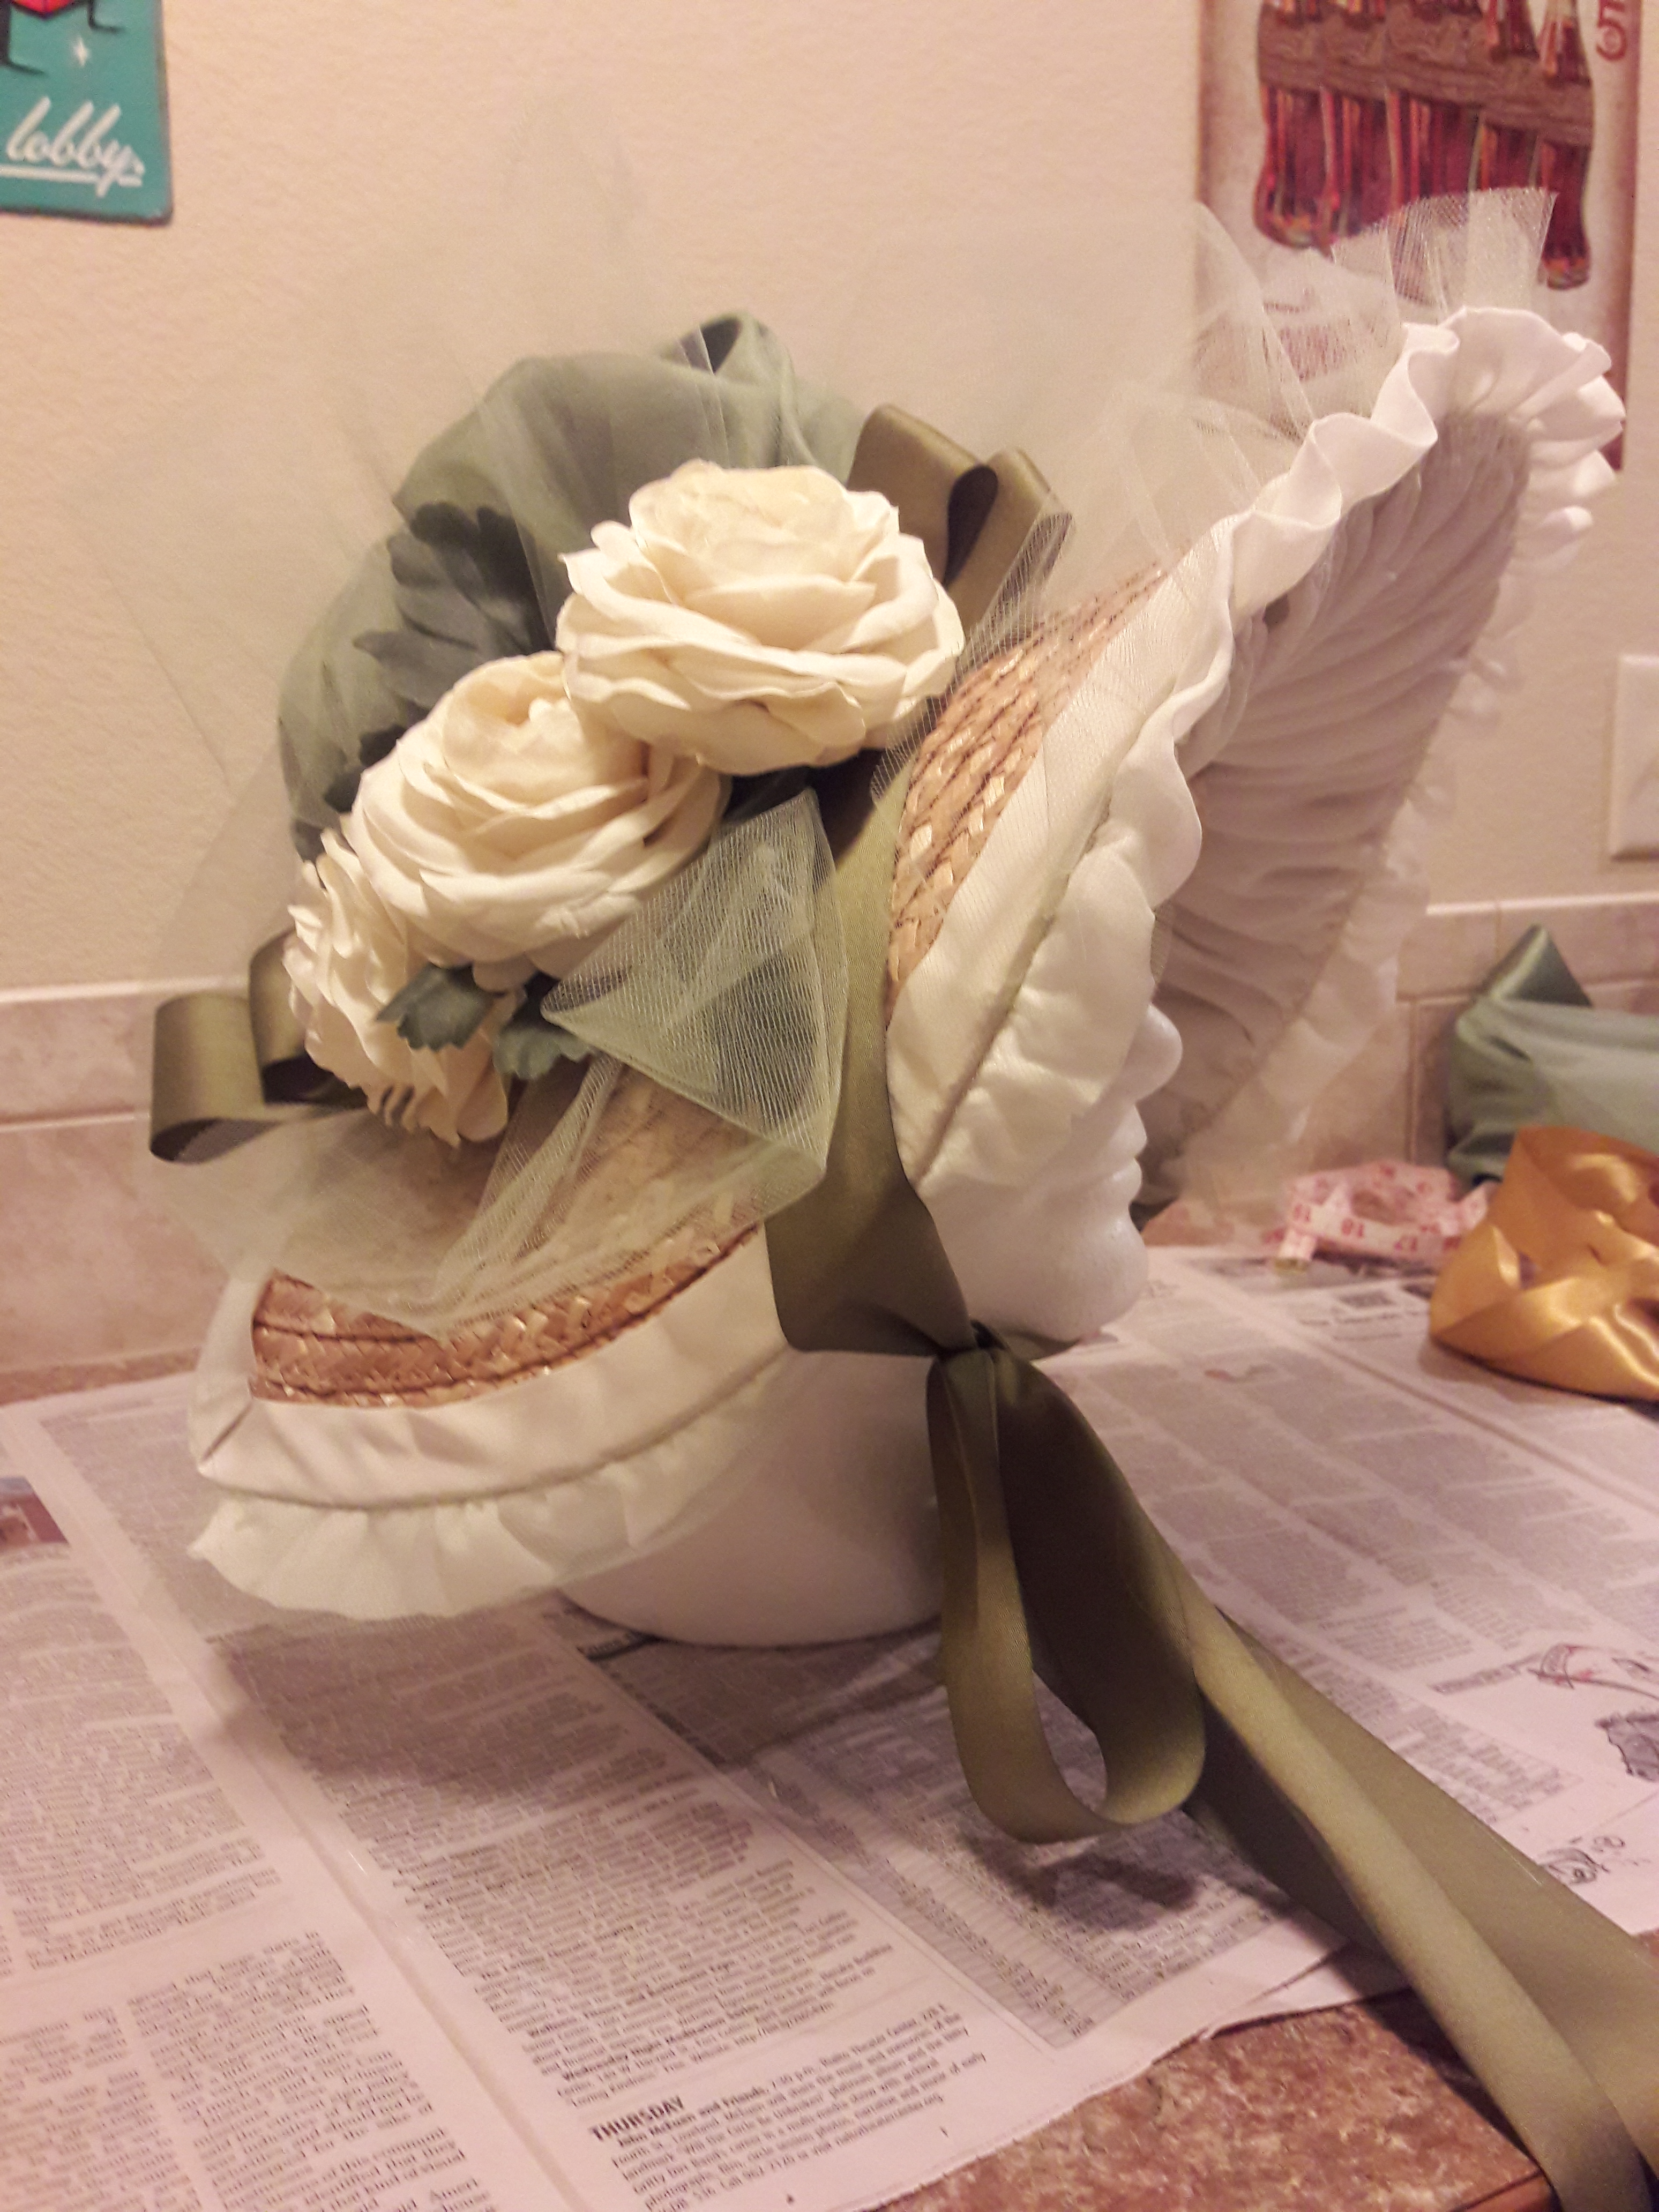
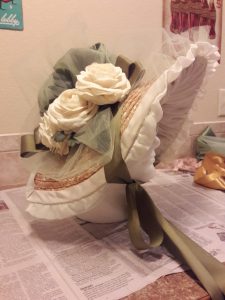
Still, it looked much better this time when I tried it on. I added a double ruffle of gray-green tulle*, and when I lined the brim with voile, I positioned it so that about an inch hung over the brim.

*A word here about colors: I mentioned in my last post that, although my pelisse was gray, I didn’t want to look like a lady wearing half-mourning. I was also going on the assumption that most Regency ladies wouldn’t have a different bonnet to go with every outfit, so I didn’t try to go all matchy-matchy with the bonnet colors. Instead, I decided to go with ribbons, crown fabric, etc. in a shade of green that would coordinate with, but not exactly match, the greens in the print fabric I’d used for the dress.

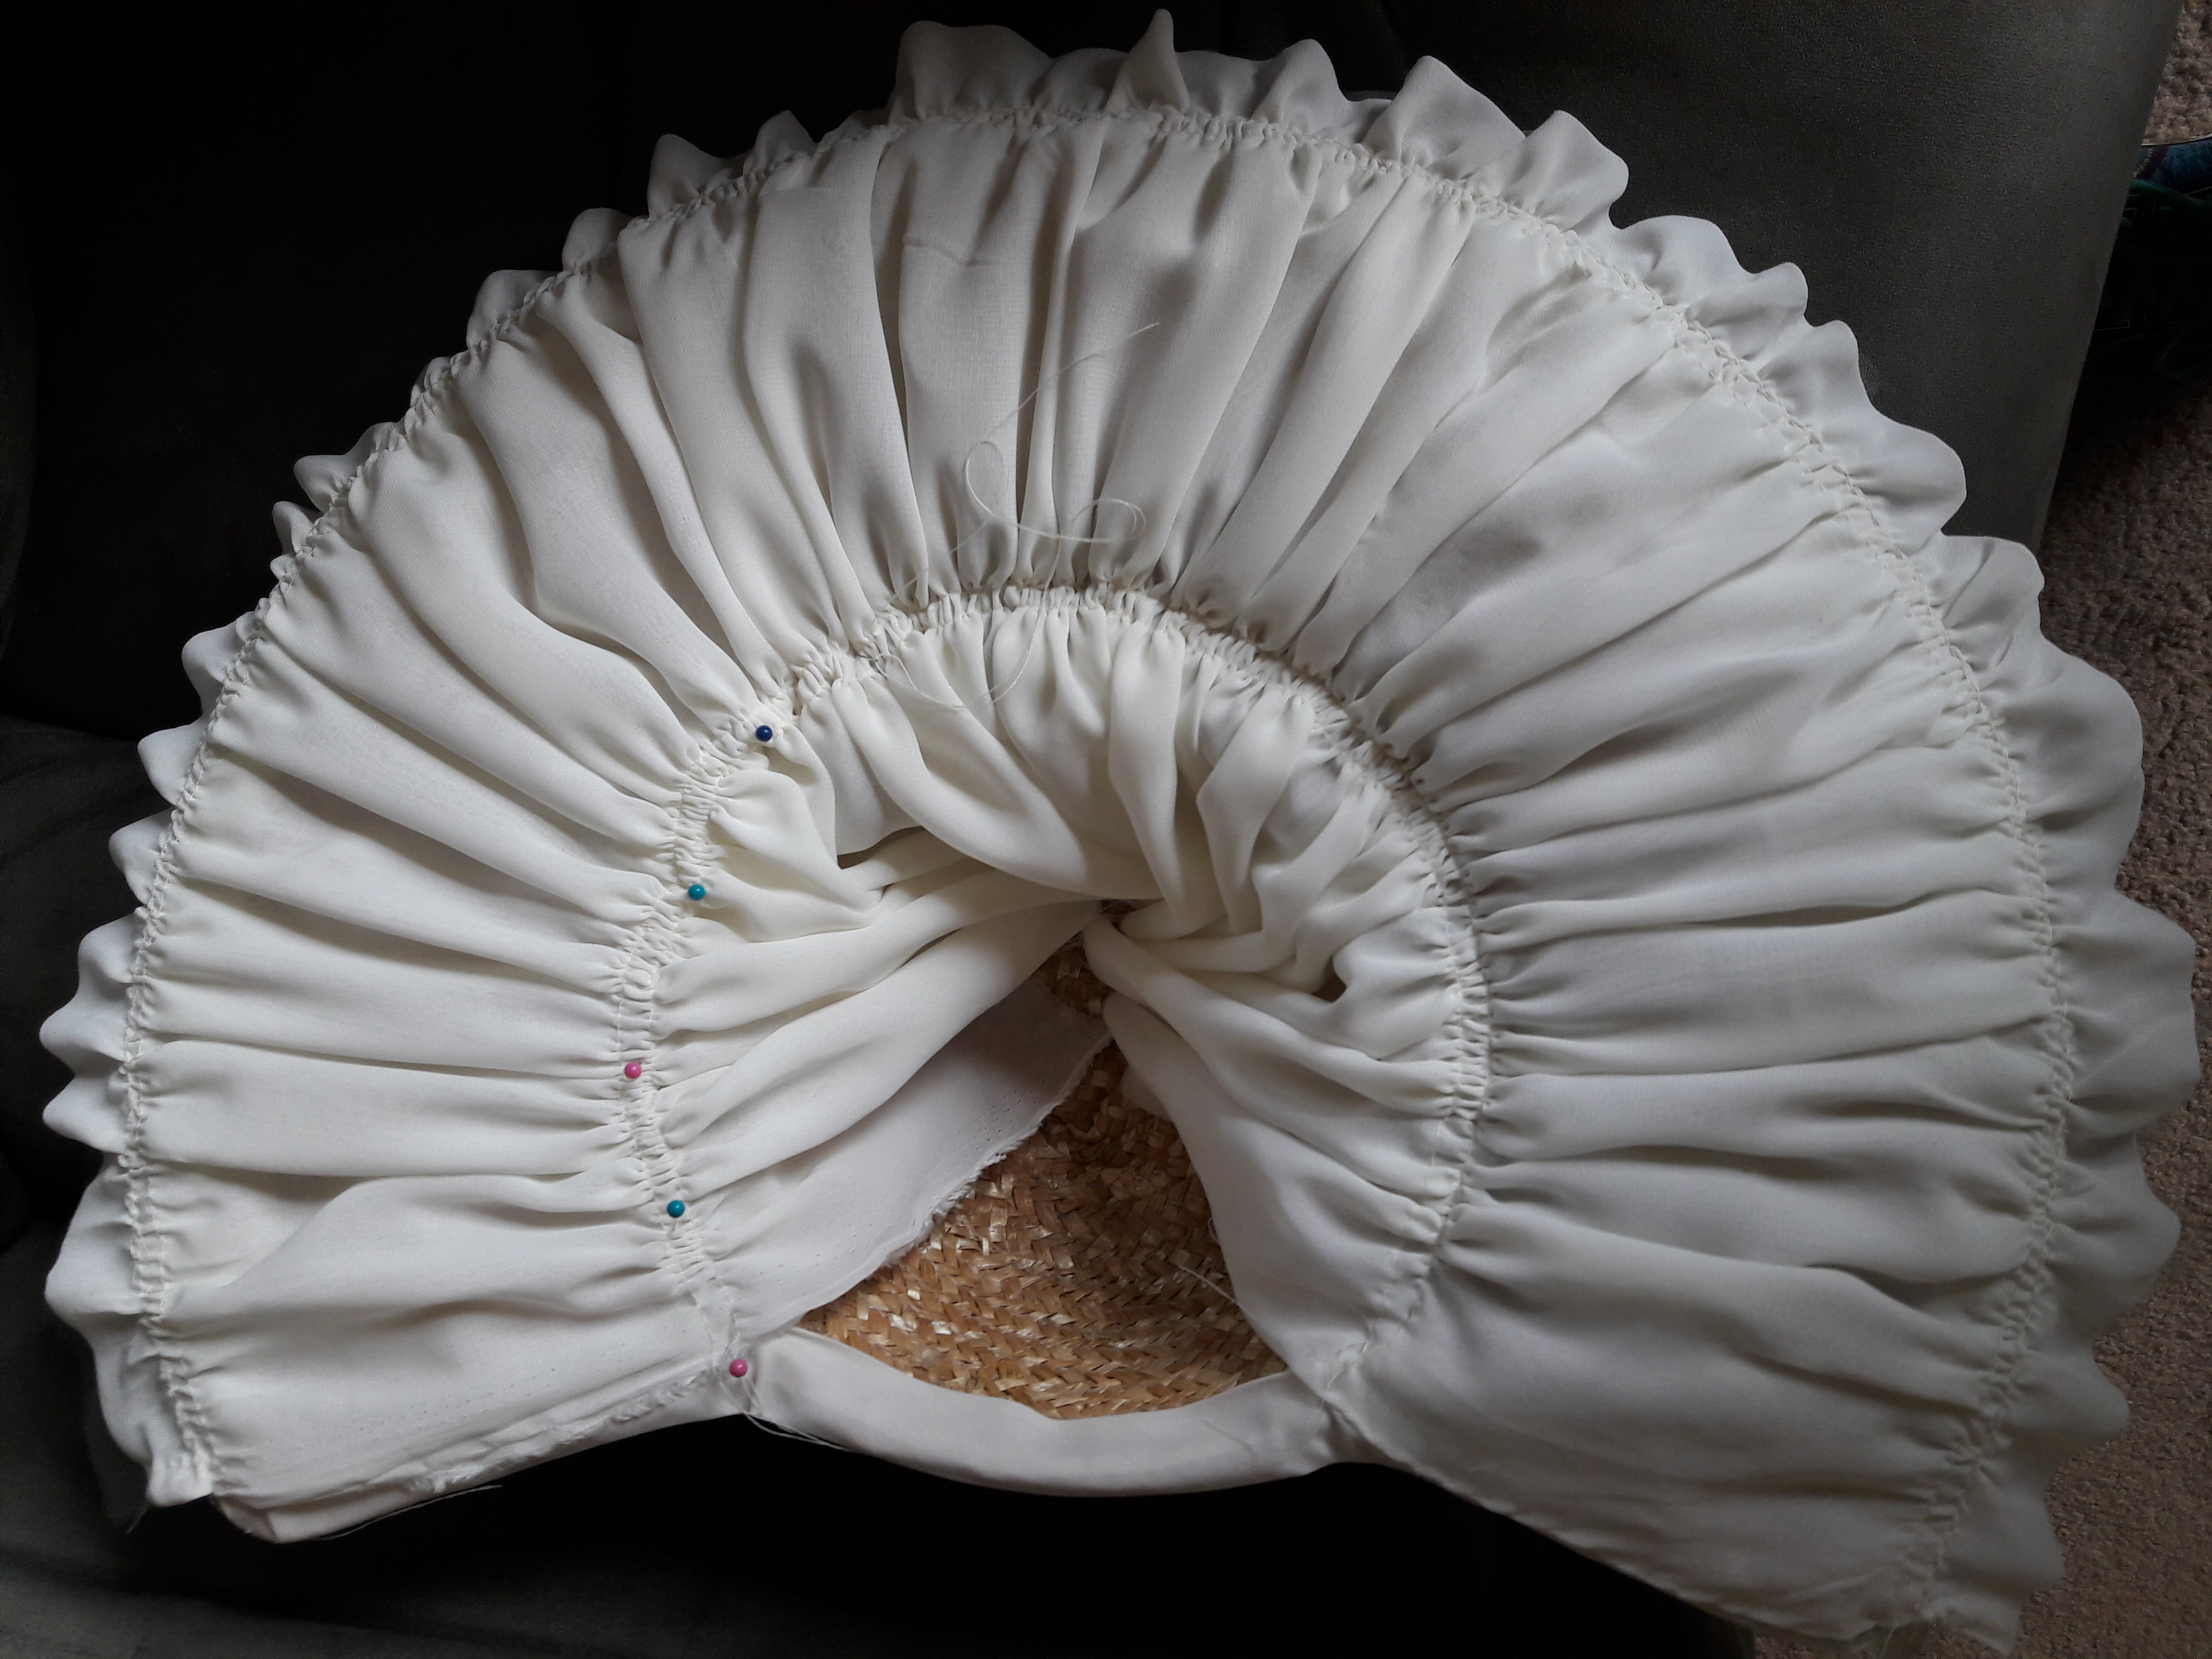
Now it’s starting to look like a real bonnet!

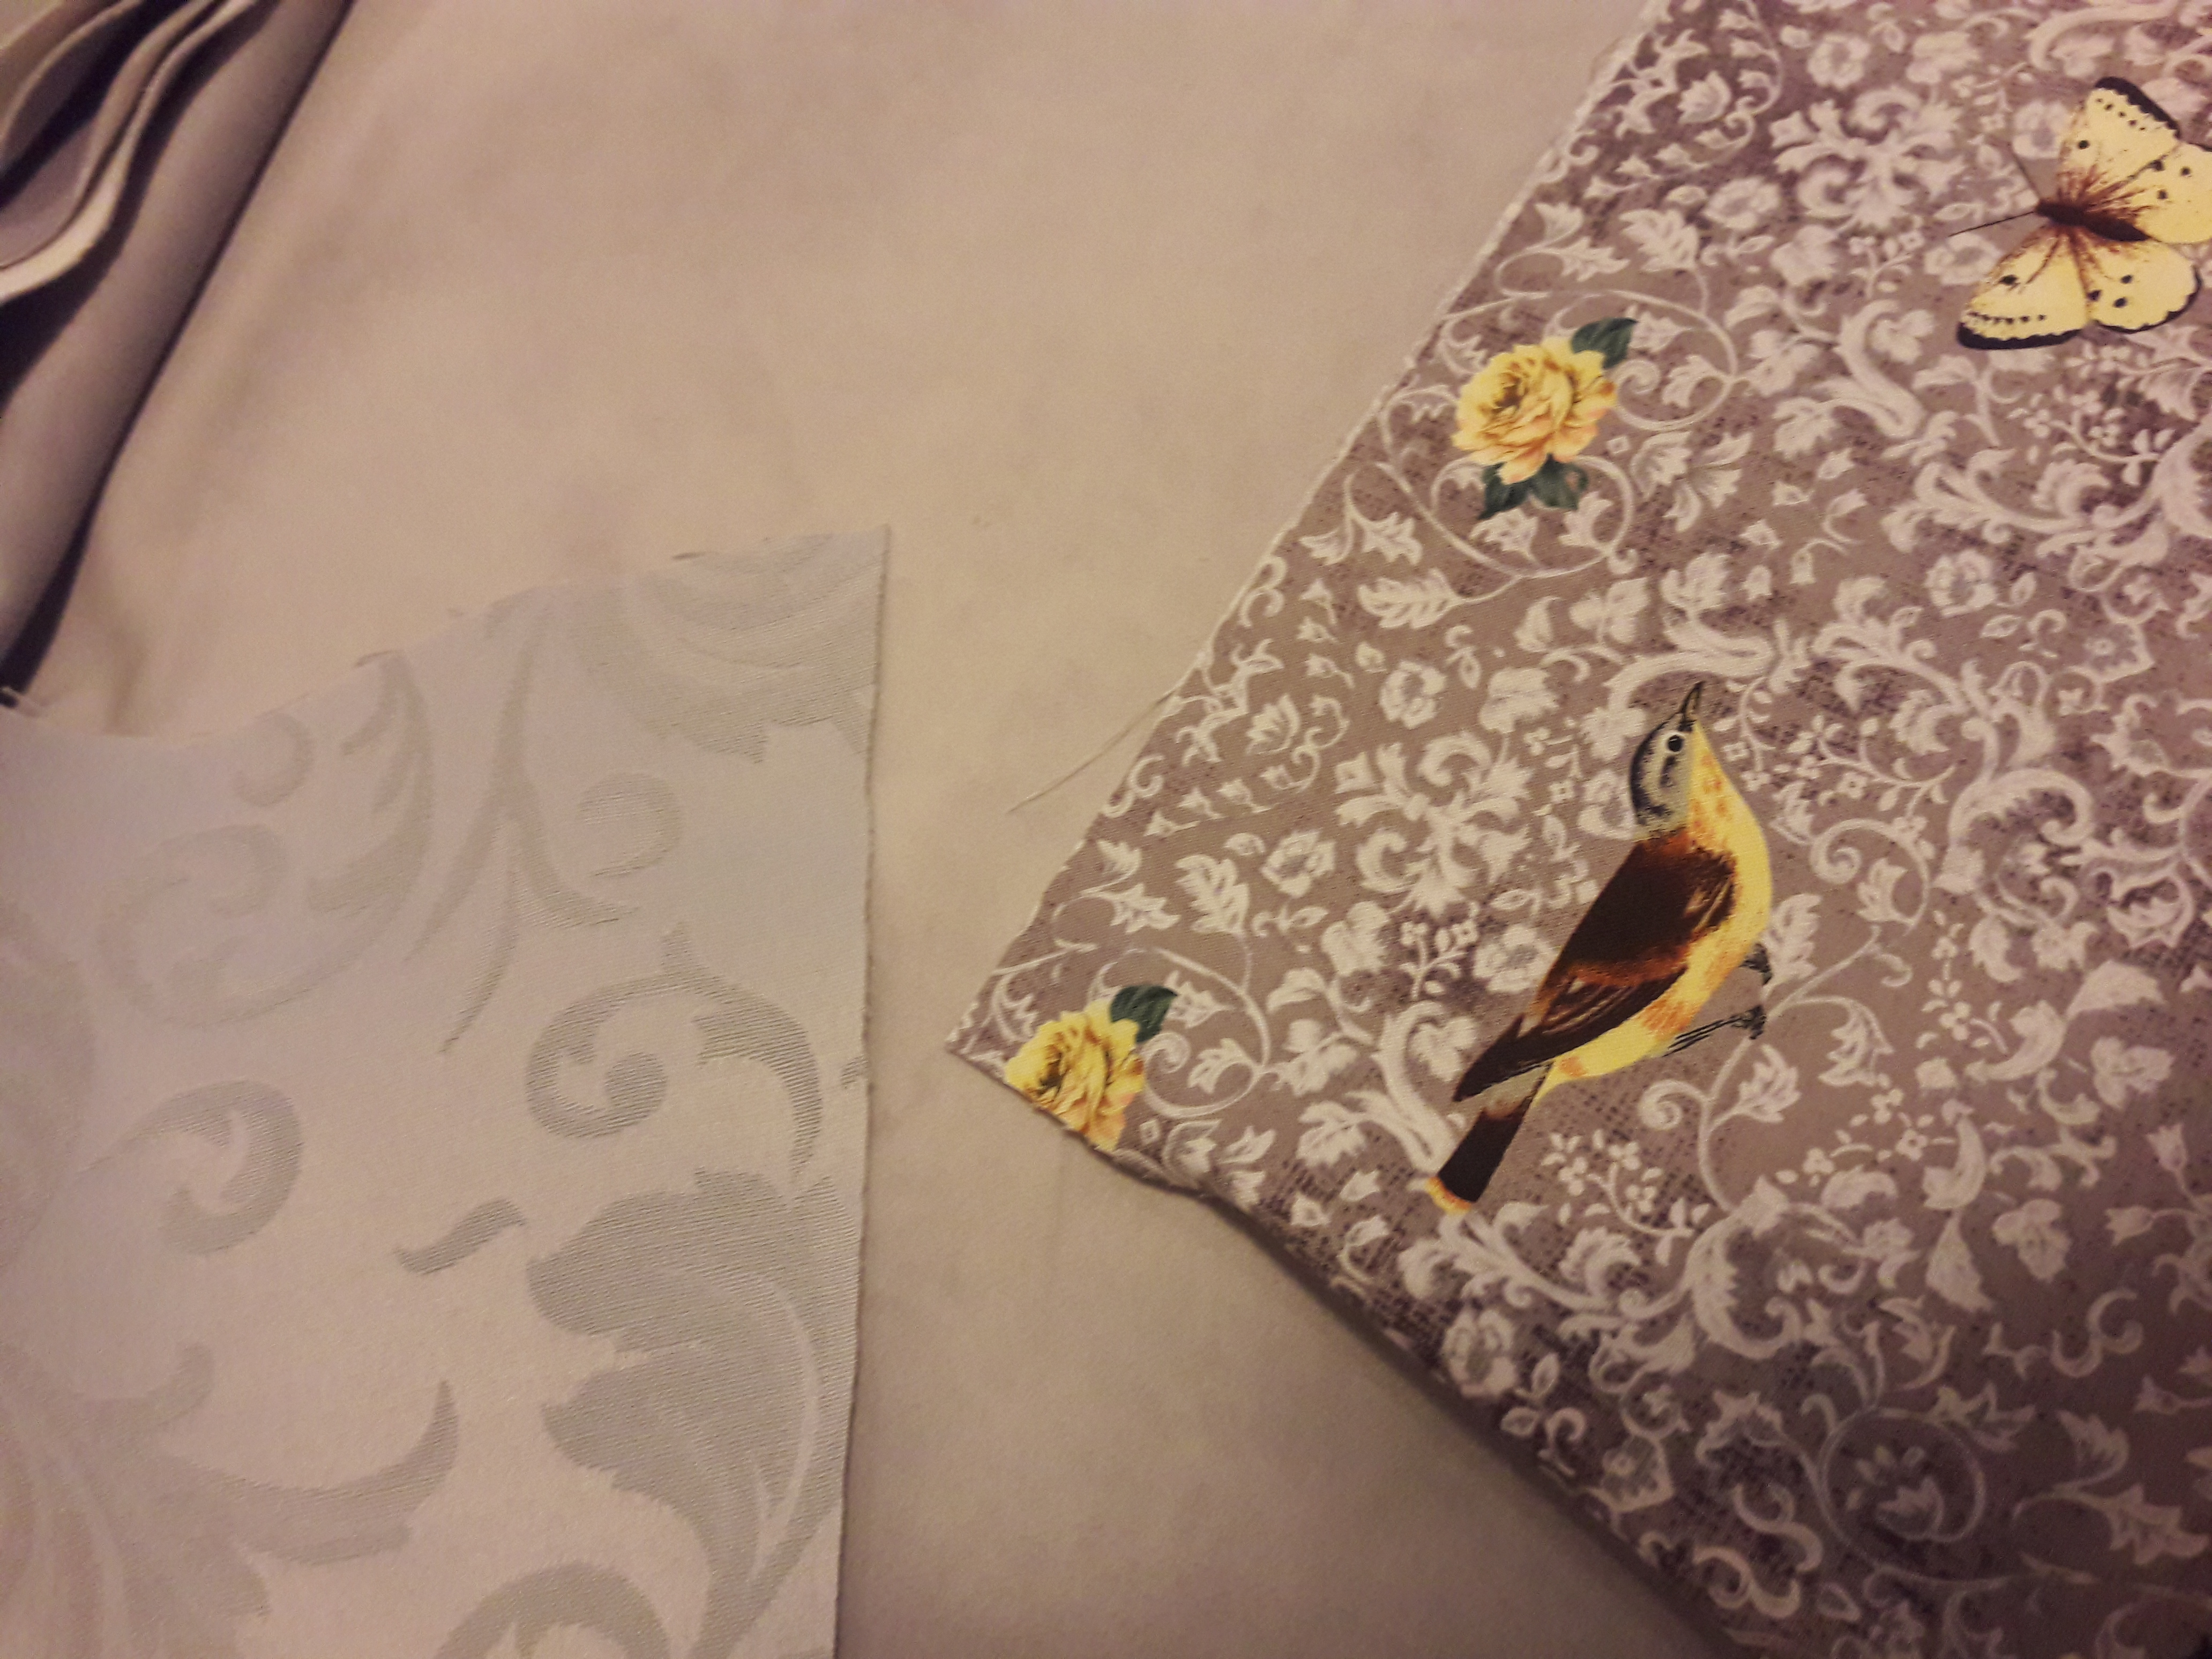
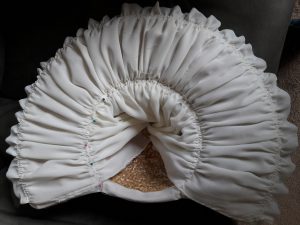
For the fabric crown, I wanted something with enough body that it would hold its shape, but not be too thick for all the gathering I would have to do. One of the websites I’d studied suggested taffeta; unfortunately, I couldn’t find any. I finally settled on a crepe-backed satin, and folded it inside out, with the shiny side to the inside. I’d also learned the hard way that a 9-inch-deep crown wouldn’t begin to cover my big head, so I didn’t cut it at all, figuring I could trim it down to size as I went along. But I never did; I used that entire yard of fabric (folded in half, of course). If you’re making a bonnet of your own, be aware that the crown fabric is greatly reduced in size by the gathering process! I wanted lavish gathering rather than a skimpy crown (don’t want to appear shabby-genteel, you know!), and it took every bit of that fabric to achieve the desired effect.

The photo (above) shows the crown gathered to the hat before it’s all covered up with trim. After this picture was taken, I hot-glued a length of 5/8-inch single-fold bias tape (in the same color as the wide bias tape finishing the brim edge) over the gathering stitches to conceal them. You can also see in this photo how the ribbon tie works. (By the way, the gold ribbon shown here is a leftover from my practice piece; it’s not the one I used in the final version.) Rather than attach two lengths of ribbon to the “corners” of the brim where it’s been cut away, I left the ribbon tie in one long piece, centered it over the front of the bonnet, and simply draped it over the brim where it meets the crown, then tied it in a bow beneath my chin, being sure to pull it tightly enough to bend the brim into the proper shape.

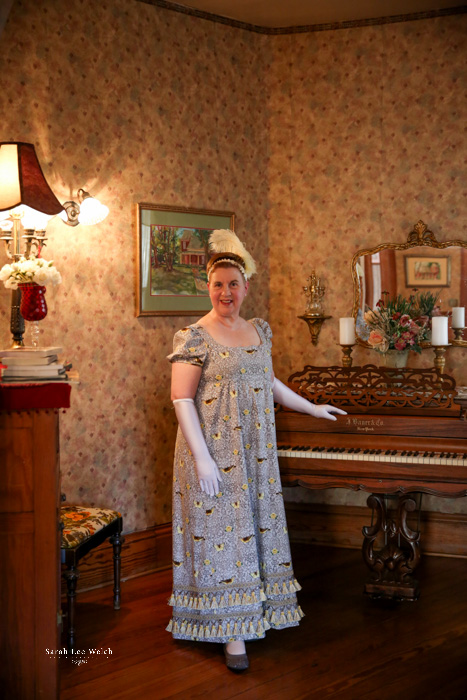
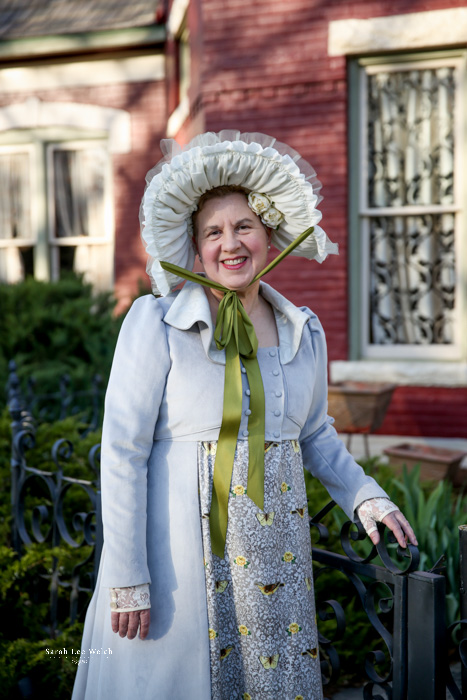
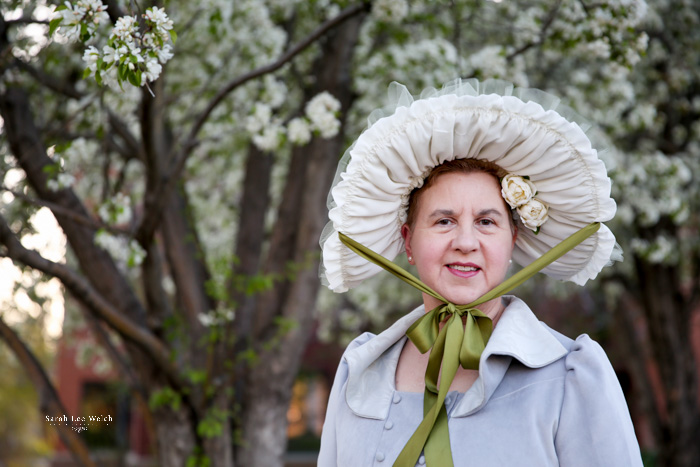
The finished product!

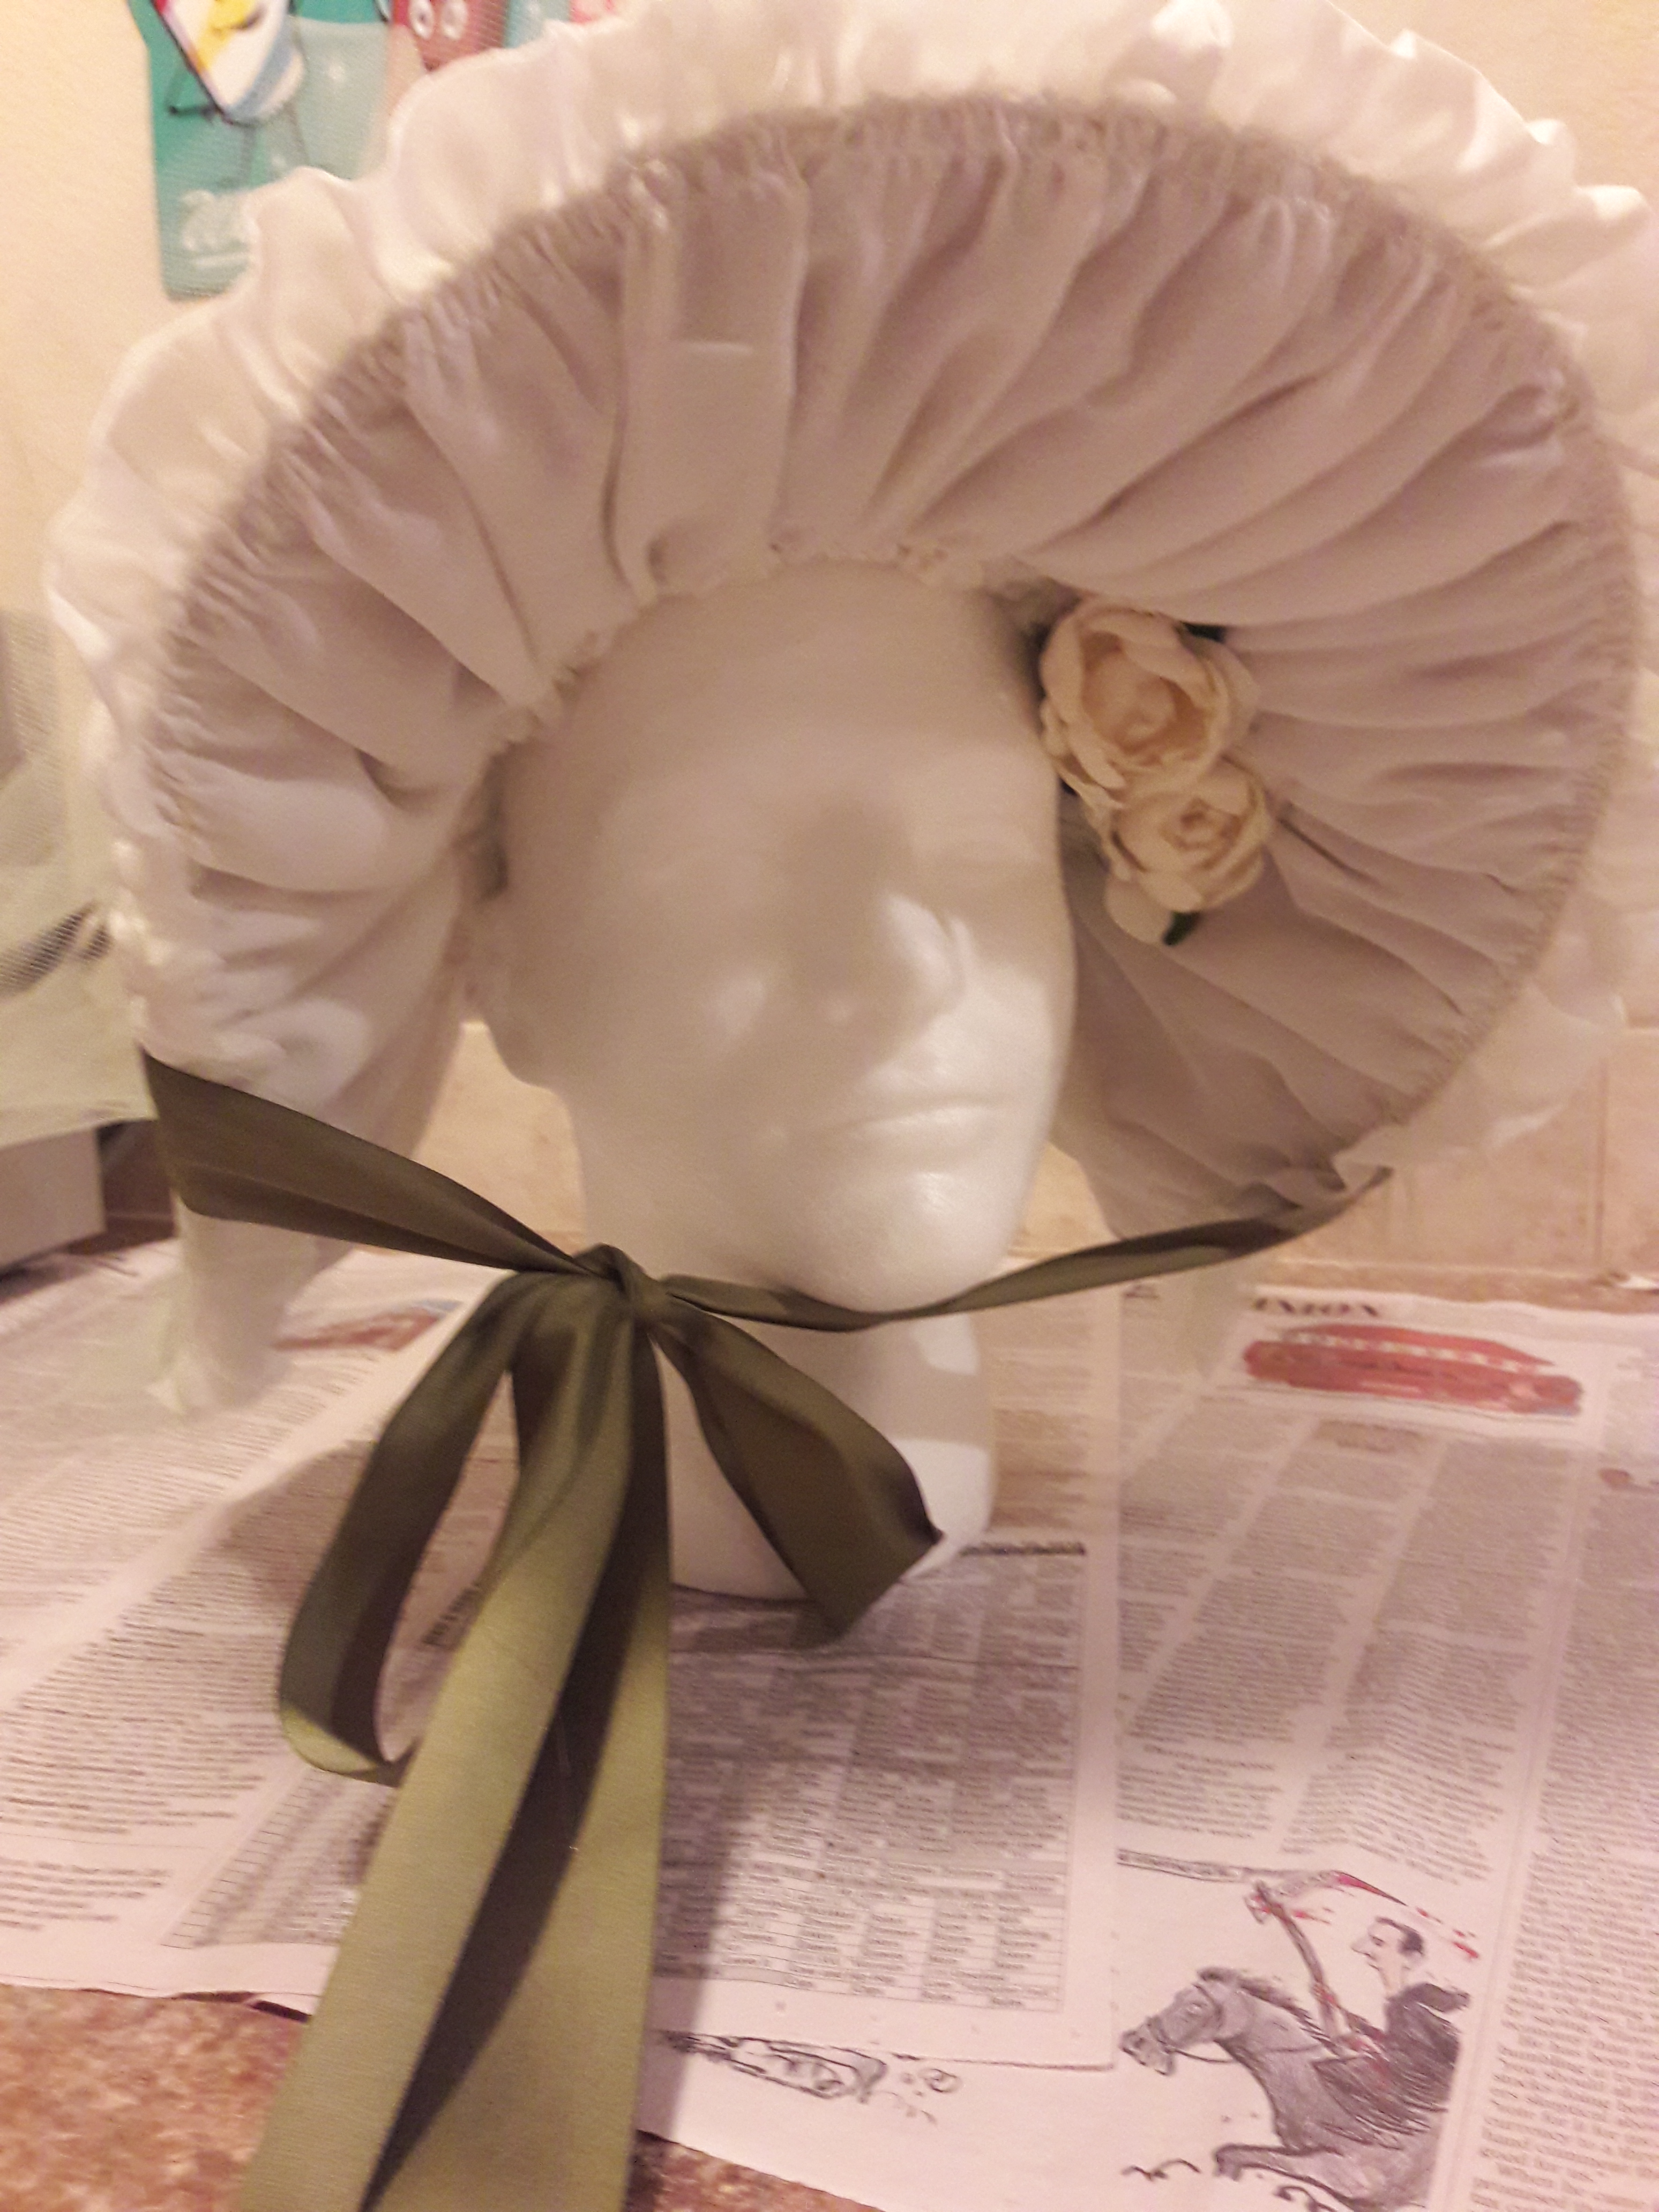
This front view shows the interior trim.

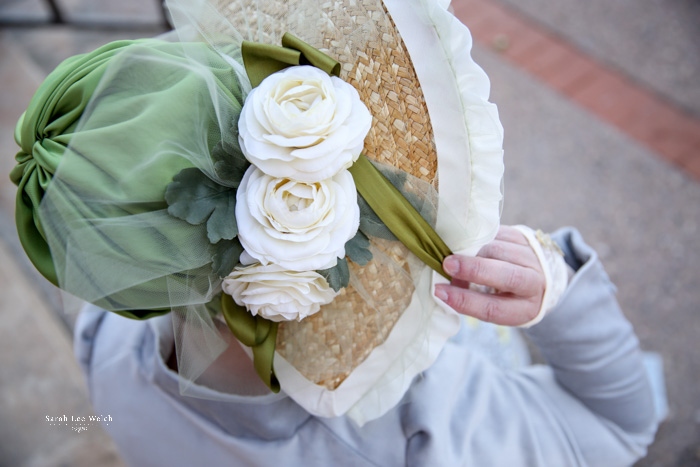
Before that, though, I had to trim the bonnet. I bought two branches of artificial peonies in an off-white shade to match the bias tape and voile I’d used for the brim lining. I cut off three of the larger flowers and tacked them securely to the crown, then cut off the half-open buds and tacked them to the inside of the brim, being sure to stitch all the way through both voile and the brim itself. I used a thread that matched the straw, so the stitches don’t show from the outside.

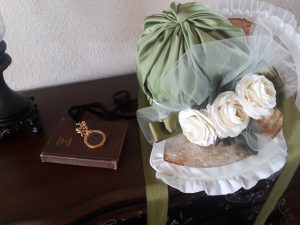
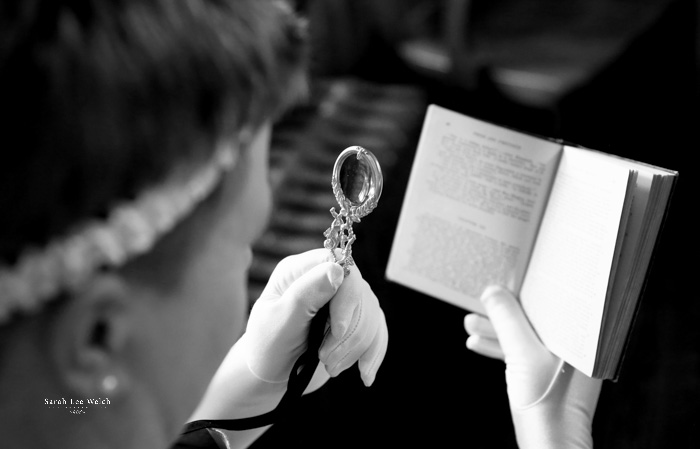
“Still Life with Bonnet and Quizzing Glass.” Here you can see the gathering at the crown.

In Part 3, I’ll talk about accessories: reticule, fingerless gloves, and a headpiece for evening wear that would stay in my very short hair!


The Making of a Regency Costume

Part 1 of 4:

The Dress & Pelisse

My plans for this year (2018) include going to both the Romantic Times Booklovers Convention in Reno and the Romance Writers of America conference in Denver (including the 1-day Beau Monde Mini-Conference featuring all things Regency)–not just one, but two occasions to wear historical costume. So I decided at the beginning of the year to create a Regency costume—not just a full-length, high-waisted gown, but the whole shebang. This post is the first of a 4-part series on the construction of that costume, its accessories, and, finally, the results as seen in the professional photo shoot to which I treated myself after the three-month-long project was complete.

Having decided to make the costume, I went shopping right after New Year’s for a pattern and fabric. Unfortunately, there aren’t many Regency patterns available at present, as these tend to be directly proportional to the number of Jane Austen adaptations on the big screen at any given time; as of this writing, 18th-century patterns tend to be more prominent, thanks to Outlander and Poldark.

McCalls #7493, the pattern I used to make my costume.

I did find a few, though, and settled on McCalls #7493. I liked the fact that it offered, in addition to the aforementioned full-length, high-waisted gown, either a short spencer with a pleated peplum in the back or a full-length pelisse with a cutaway front, pleats in the back, and a double-breasted bodice with a draped collar in a contrasting fabric. Both had two-piece sleeves, and both were fully lined. In other words, this was not a pattern for beginners. But I’ve been sewing since I was nine years old. Few patterns have the power to defeat me—and I’m rather a snob about that. So this fairly complex pattern was right up my alley.

Now that I had the pattern, it was time to shop for fabrics.  In my opinion, fabric stores have gone downhill in recent years, with more focus on crafters (especially quilters) than on people who sew, you know, actual clothes. Thanks to all those quilters, I knew it would be no problem to find a cotton print that looked reasonably accurate for the period; fabric for the pelisse (I’d decided to go for the pelisse rather than the spencer, because harder. Yeah, I’m a snob that way.) was likely to prove the greater challenge, so I concentrated on that first. I looked at both Walmart and Joann’s Fabrics (my only local options) for a coat-weight fabric that wasn’t an anachronistic polyester or an obvious poly blend, but without success. In desperation, I went to the back corner of Joann’s, where the upholstery fabrics were kept on enormous cardboard rolls against the wall. And there I found a dove-gray fabric with a slight nap. It was certainly coat weight—in fact, my first thought was that it weighed a ton—but upon reflection, I decided it was no heavier than denim, and lighter than some denims I’ve worked with. For the lining, I bought a length of gray broadcloth that would conceal the wrong side of the fabric while keeping the added weight to a minimum. The upholstery department also yielded another treasure: a relatively lightweight brocade whose color would match the body of the pelisse while the weave provided a contrast.

Clockwise from top left: the gray pelisse fabric; the cotton print I chose for the gown; the silver-gray brocade I used for the contrasting collar of the pelisse.

Now, for the gown. As I had expected, there was no shortage of cotton prints. I’m not generally a fan of sweet little floral patterns, and given that I’m *ahem* past the first blush of youth, I wouldn’t be presenting myself as a young lady in her first Season, but a fashionable society matron. Still, I wanted something that looked reasonably accurate to the period. I finally found a somewhat bolder print, a gray-on-gray pattern punctuated by yellow-and-brown birds and butterflies along with yellow roses and green leaves. This would not only match my pelisse, but also give me additional colors for accessorizing without looking like I was in half-mourning.

Detail of pelisse back view, showing princess seaming & pleated skirt

True to the fashions of the period, my pattern contained no zippers or snaps; the pelisse buttoned in the front, and the gown buttoned in the back. (This also meant that I would be unable to get in and out of the dress without assistance; I made a mental note to make sure to have plans in place before the event for someone to help me into and out of it.) I knew that fabric-covered buttons were popular during the Regency, so I decided to make covered buttons. Alas, both the gown and pelisse called for ½-inch buttons, and I couldn’t find covered-button forms in that size locally. Thank goodness for Amazon! I was able to buy a button-making kit in the correct size, plus a bag of additional button forms—a good thing, too, as I would need eighteen buttons for the pelisse alone (four for each sleeve and ten for the double-breasted bodice), plus another four for the gown. Then, too, there was that pelisse fabric. I suspected it would be too thick for buttons that small, and when my button kit arrived, one practice attempt was enough to prove that I was right. I decided to use remnants of the gray broadcloth I’d used for the pelisse lining. The color was so near a match that they looked identical, and the lighter weight was much better suited to the purpose.

Detail of pelisse sleeve showing covered buttons

As for the gown, I ended up making a couple of small additions after it was complete, one to the bodice and another to the skirt. It was important for the bodice to fit closely, and since I’ve always had a small bustline relative to the rest of me, this meant placing the buttons considerably farther inside than the markings indicated on the pattern. I was afraid this would make it look somewhat off-centered from the back, so I added a second row of buttons on the outside of the bodice, a couple of inches from the buttonholes. They don’t really do anything—that is, there are no corresponding buttonholes—but they do give it a sense of symmetry and, as my proofreader and fellow seamstress pointed out, they reflect the double-breasted construction of the pelisse. This brought my total button count to twenty-six, so I was especially glad to have all those extras.

Detail of gown showing hem with double rows of tasseled trim.

Finally, when I stumbled across a braided trim with tassels in exactly the same color combinations as my dress fabric, I couldn’t resist buying enough to put a double row around the bottom of the skirt, reflecting the ornamented hemlines characteristic of the late Regency period.

In Part 2, I’ll be sharing what was, for me, the most challenging part of the costume: the bonnet.